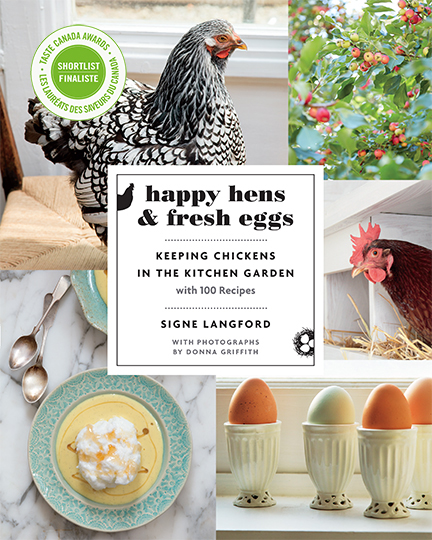
From the book Happy Hens & Fresh Eggs: Keeping Chickens in the Kitchen Garden – with 100 Recipes, ©2015, by Signe Langford, Photography by Donna Griffith. Published by Douglas & McIntyre. Reprinted with permission of the publisher.
By Signe Langford
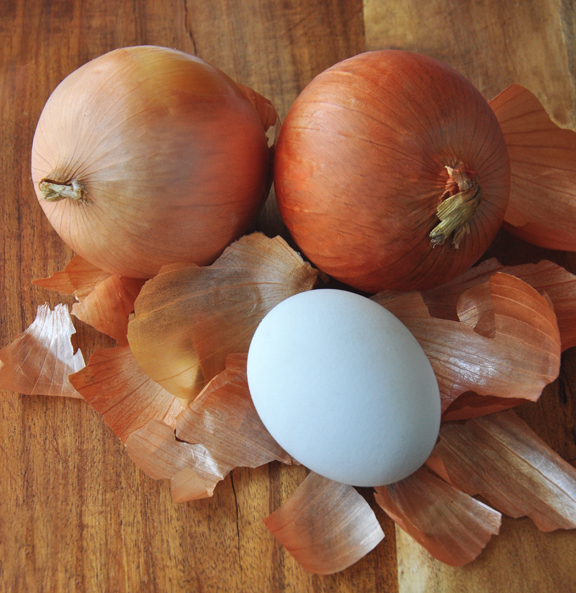
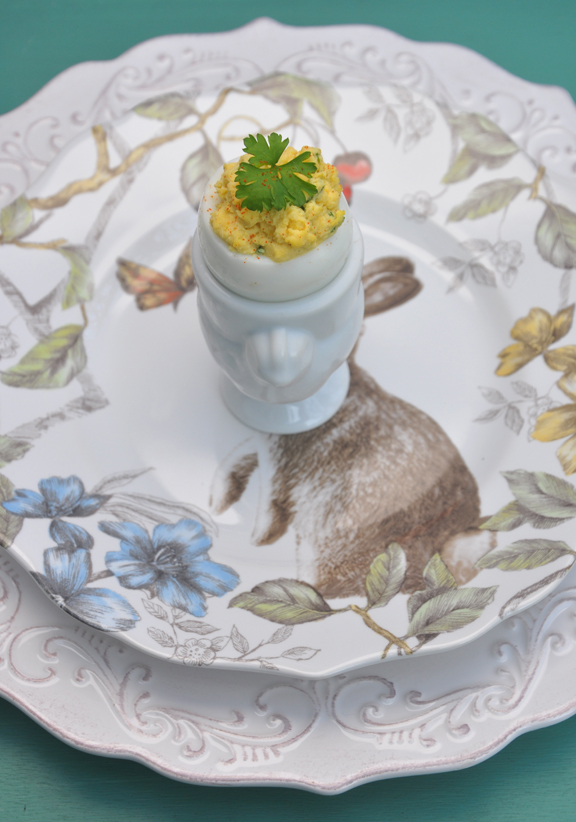
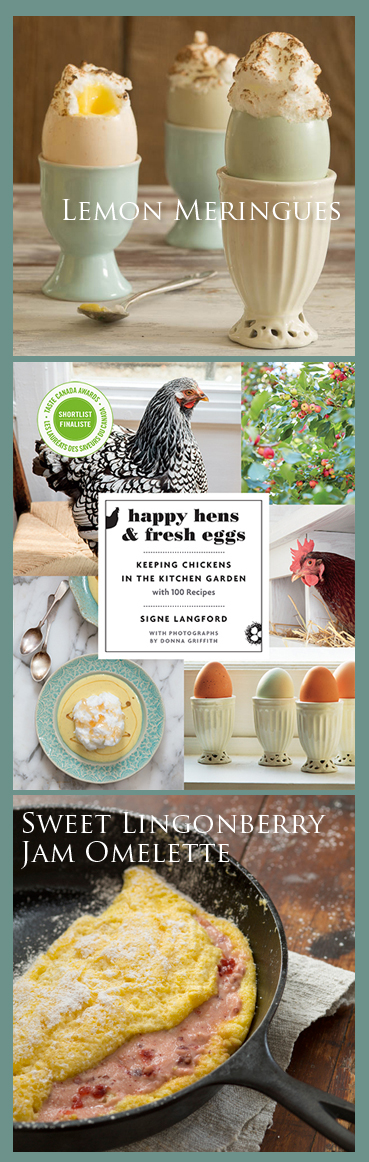
This dessert is about as sweet and adorable as a fluffy baby chick, and absolutely perfect for brunch. Once you decide you’re going to make this, you’ll need to start being very mindful about how you crack open the eggs you cook with; you’ll need to save up as many perfect shells as you wish to serve, with just the right opening near the top. If patience is not one of your virtues, go ahead and boil up as many as you need and make some egg salad!
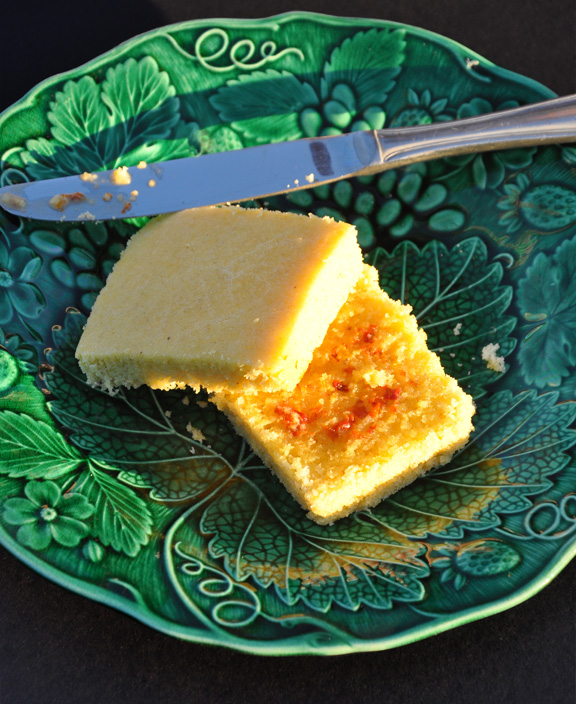
Serve the filled shells in egg cups with wee spoons—avoid silver—and a few simple all-butter, not-too-sweet shortbread cookies. This recipe is also a perfect excuse to buy one of those nifty kitchen torches; you’ll need one to brûlée the meringue. If you’re not into the eggshell thing, any tiny vessel will do—espresso cup, liqueur glass, shot glass, sake cup, you get the idea—but the size will change and so will your amounts.
Ingredients:
1 ½ cups (350 mL) Light and Fluffy Citrus Curd, chilled (recipe below)
1 ½ cups (350 mL) French Meringue (recipe below)
⅓ cup (80 mL) vanilla super-fine or regular sugar
Directions:
Prepare 2 dozen eggshells to be used as serving cups (see sidebar for instructions). Place in serving cups and set aside.
Fill the prepared shells with chilled lemon curd; set aside.
Top each filled shell with a nice tall dollop of meringue, or get all fancy and pipe it on. Sprinkle each with a wee bit of the sugar and brûlée with a kitchen torch. You can also try it under the broiler, but it can be tricky and tippy and I don’t recommend it.
Light and Fluffy Citrus Curd
Makes 1 ½ –2 cups (350–475 ml)
The only lemon curd I tasted growing up came out of a jar. The grocery store kind was, and often still is, starchy, dull and overly sweet. When I made my first batch of homemade, it was mind-blowingly rich, tart and just so much better than anything out of a jar—even a jar all the way from England.
It’s one of those things that can be used in a number of ways: in a trifle, in tarts or tartelettes, between layers of cake, as a dessert topping, and on and on. It’s also a great gift, packed into pretty little jars.
On super-hot days I’ll put some curd in a bowl, tumble in some frozen blueberries and gently stir them in. After about 5 minutes in the fridge, the blueberries have softened just enough and it’s all wonderfully refreshing.
I call my version “lighter” because I use whole eggs, while most recipes call for just the yolks; I find the whites give a lighter, fluffier, prettier, pale yellow curd.
Go ahead and use any combination of citrus juice you like: lemon and lime, orange, blood orange and lemon . . . I also call for vanilla sugar, which isn’t the norm but I love that combination of lemon and vanilla. Feel free to use regular sugar if you prefer.
Ingredients:
½ cup (120 mL) vanilla sugar
½ cup (120 mL) freshly squeezed citrus juice
Zest of 1 lemon or other citrus fruit
4 free-run eggs
6 Tbsp (90 mL) butter, at room temperature, cut into chunks
Directions:
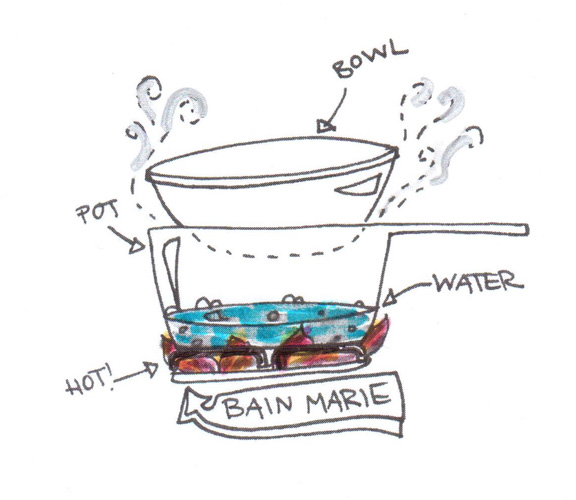
Into the top part of a double boiler or bain Marie whisk together the sugar and juice. The water should be simmering, not boiling. And be sure to use a whisk, to whip air into the curd.
From the book Happy Hens & Fresh Eggs: Keeping Chickens in the Kitchen Garden – with 100 Recipes, ©2015, by Signe Langford, Illustration by Sophie Sanders. Published by Douglas & McIntyre. Reprinted with permission of the publisher.
It’s important to keep a close watch on the heat; the temperature of the sugar and lemon should never be too hot, just warm. Carefully feel the sides of the bowl or double boiler—if it’s too hot, you will end up with a batch of sweet, lemony scrambled eggs.
If you want to be on the safe side, keep another pot or bowl to the side of the stove, full of ice water. If your mixture gets too warm, just rest the bottom into the ice water and whisk like mad. That will bring down the temperature in a hurry.
Now add the eggs and get ready to stand there and whisk vigorously for the next 20 minutes or so. Keep whisking and scrape down the sides with a rubber spatula so you don’t end up with a lot of overcooked curd clinging to the bowl or pot.
Once the mixture is starting to resemble curd—about the thickness of yogurt—whisk in the butter, one chunk at a time.
Once all the butter has been added and the curd is lovely and smooth and thick, set it aside to cool uncovered and at room temperature. Once it’s fully cooled, you can cover and store in the refrigerator.
French Meringue
Makes 10-12 individual meringues
The simplest type of meringue, just egg whites and sugar. It ends up crunchy and crumbly, and is used most often to make dessert nests or cups for fruit and custard and such, often piped into shapes before baking. This is also the classic lemon meringue pie topping.
Ingredients:
4 free-run egg whites
Up to 2 ¼ cups (530 mL) icing sugar
Directions:
Preheat oven to 200F (95C). Line a baking sheet with parchment paper, or lightly butter and dust with cornstarch or icing sugar. I prefer the parchment method.
Add the egg whites to a large bowl that you’ve wiped clean with a drop of vinegar or lemon juice. Using an electric beater on medium speed, whip until foamy.
Begin adding the sugar a bit at a time and continue to beat on medium speed until stiff and glossy. I like to give it a taste because my sweet tooth isn’t very strong; I don’t add all the sugar but you might like things a bit sweeter.
TIP: If you’re making the little individual lemon meringues in eggshell, pictured above, you can ignore the next steps, but I’m including them here so you know how to make a batch of meringue for another use too!
Here you can go either fancy or free-form. For fancy, transfer the mixture to a large piping bag or plastic freezer bag with one bottom corner snipped off and pipe the meringue onto the prepared baking sheet in whatever shapes you desire.
For free-form, simply use a spoon to dollop, slightly flatten and spread piles of meringue onto the prepared baking sheet in the shapes and sizes you desire.
Pop the sheet in the oven and bake for about 3 hours or until the meringues lift from the sheet easily and feel completely dry and light. Some chefs suggest propping the oven door open just a smidge so it doesn’t overheat; you know how precise and well-behaved your oven is, so use your own judgment.
Remove from oven and let cool completely before storing, or they may soften again. Store at room temperature in a covered container.
Recipe from the book Happy Hens & Fresh Eggs: Keeping Chickens in the Kitchen Garden – with 100 Recipes, ©2015, by Signe Langford, Photography by Donna Griffith. Published by Douglas & McIntyre. Reprinted with permission of the publisher.
Bookmark this post with a Pin.
About the author:
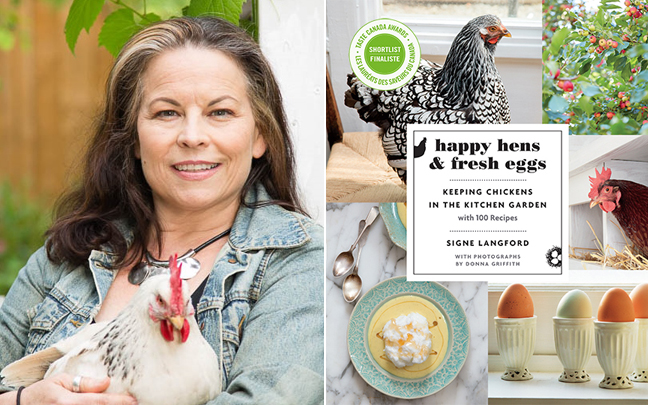
Signe Langford is a restaurant-chef-turned-writer who tells award-winning stories and creates delicious recipes. She is a frequent contributor to the Globe and Mail, National Post, Toronto Life, Canadian Living and Garden Making magazines. In 2105, Signe published her first book Happy Hens & Fresh Eggs; Keeping Chickens in the Kitchen Garden- with 100 Recipes.
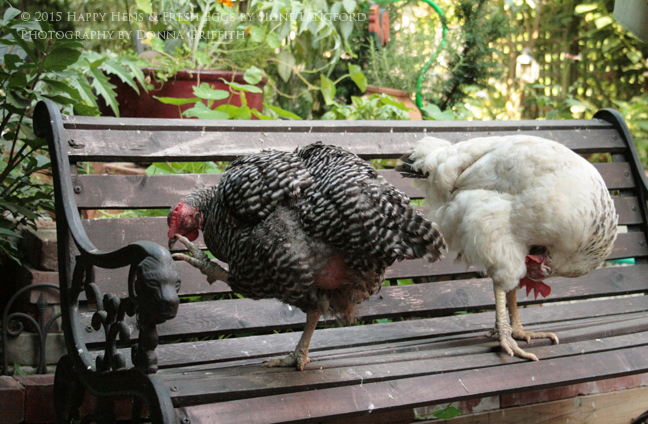
Raised in the town of Hudson, Quebec Signe grew up surrounded by an ever changing menagerie of critters, both wild and domestic, and her special affection for all feathered creatures has never flagged. At present, she shares a downtown Toronto Victorian with a tiny flock of laying hens. For more stories and recipes please visit www.signelangford.com
Photographer Donna Griffith is based in Toronto. She has taken photographs of food and drink, homes and gardens for a number of publications and books.
Artist Sophie Sanders specializes in hand-made and printed linocuts and ink drawings.